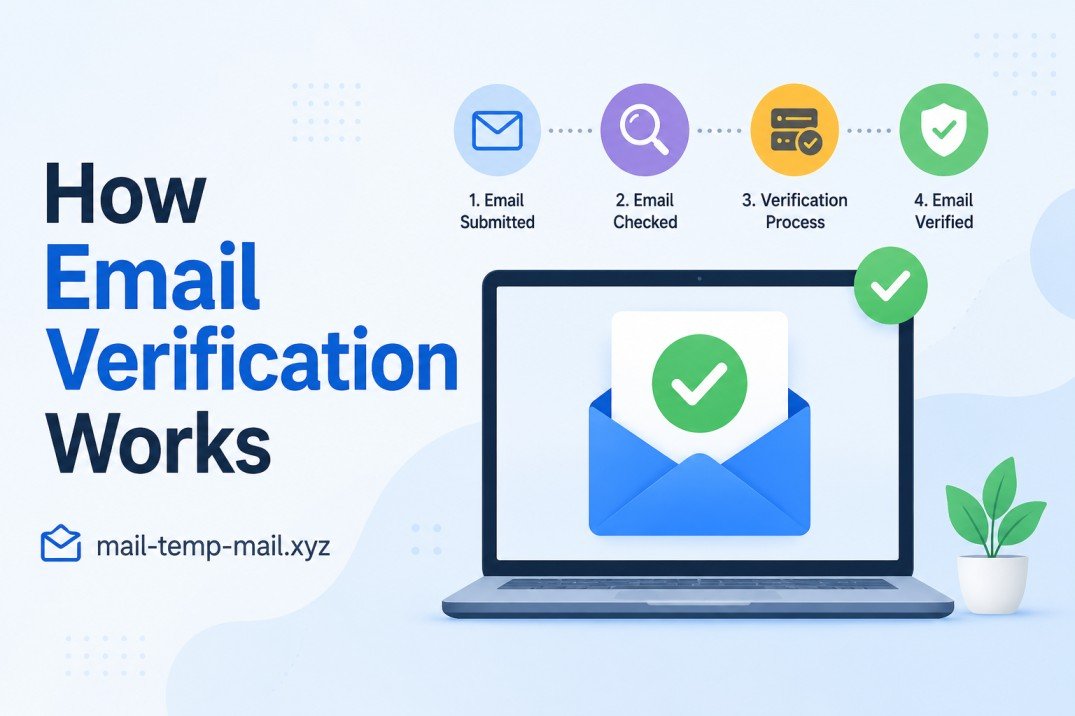
How Email Verification Works — And Why It Trips Up More People Than You'd Think
I still remember the first time I built a small web app and added a "sign up" form. Everything looked great — users could register, fill in their info, and boom, they were in. Simple, right?
Then I started noticing accounts with email addresses like test@test.com, abc@abc.com, and the classic asdf@asdf.com. None of those people ever came back. They never engaged with anything. They were essentially ghost accounts — taking up space, skewing my user data, and making my engagement numbers look terrible.
That's when I went down the rabbit hole of understanding email verification. And honestly? It's a lot more layered than most people realize.
So What Exactly Is Email Verification?
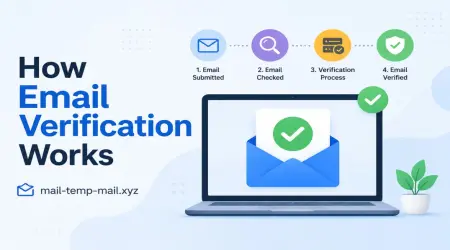
At its core, email verification is the process of confirming that an email address actually exists, belongs to a real person, and can receive messages. But here's the thing — it's not just one thing. It's actually a combination of different checks that happen at different points in time.
There are two broad types:
1. Real-time verification at the point of entry — This happens the moment someone types their email into a form. The system checks it right then and there before they even click "Submit."
2. Post-signup confirmation emails — This is the classic "click the link we sent you" method. The user signs up, gets an email, clicks a confirmation link, and only then does their account get fully activated.
Most modern platforms use both together. And that makes a lot of sense once you understand what each one is actually checking.
The Moment You Type an Email — What's Happening Behind the Scenes
Let's say you go to a website and type your email into a registration box. Before you even hit submit, a surprisingly complex set of checks can already be running.
Syntax Check
This is the most basic one. The system checks whether what you typed even looks like an email address. Does it have an @ symbol? Is there a domain after it? Does the domain have an extension like .com or .net?
This is why if you accidentally type johnexample.com (missing the @), the form throws an error immediately. No server involved — it's just pattern matching, often done right in the browser.
Domain Check (MX Record Lookup)
This one is more interesting. Even if an email looks correct, the domain might not actually have a mail server set up. So the system does a DNS lookup to check for what are called MX records — Mail Exchange records.
Think of MX records as the "postal address" for a domain's email system. If @example.com doesn't have MX records pointing to a mail server, emails sent there would have nowhere to go. A good verification system will catch this and flag the address as invalid.
I actually learned about this the hard way when I tried to sign up for a service using a company domain email that our IT team hadn't finished configuring yet. The form rejected it — not because I typed it wrong, but because the domain's mail server wasn't set up yet. Took me 20 minutes to figure out why.
SMTP Handshake Verification
This one goes even deeper. Some advanced verification systems actually knock on the door of the mail server and ask, "Hey, does this specific inbox exist?" without actually sending a message.
It's called an SMTP handshake check. The system pretends to start sending an email, gets to the step where it identifies the recipient, and then checks whether the server accepts that address — before backing out without completing the send.
Not all services do this (it's resource-heavy and some mail servers block it), but enterprise-level email verification tools often include it.
The Confirmation Email — Why That Little Link Matters So Much
Let's move on to the part most regular users actually see: the confirmation email.
You sign up. You get an email with a subject like "Please confirm your email address." There's a button or a link inside. You click it. Done.
But what's actually happening in the background is worth understanding.
The Token System
When you sign up, the server generates a unique, random token — basically a long string of letters and numbers. This token gets stored in the database alongside your account (which is temporarily in a "pending" or "unverified" state).
That token also gets embedded into the confirmation link. Something like:
https://website.com/verify?token=aB3xK9mNpQ7rTzY2
When you click the link, the server reads that token, looks it up in the database, finds your account, and marks it as verified. Then it deletes or invalidates the token so it can't be used again.
Simple but effective. Even if someone typed in your email address accidentally, they couldn't verify the account — because only you have access to your inbox.
Expiration Windows
Most systems give these tokens a time limit. Usually somewhere between 24 hours and 72 hours. After that, the link stops working and you'd have to request a new one.
I've been annoyed by this more times than I'd like to admit — signing up for something, getting distracted, coming back three days later, clicking the link, and getting a "this link has expired" message. Frustrating, but it's a security feature. Long-lived tokens are a risk if your email ever gets accessed by someone else.
Why Some Emails Get Rejected Even When They're Real
This is something I ran into when testing signups and is genuinely confusing for a lot of users.
You might type in a perfectly real, working email address and still get rejected. Here's why that happens:
Role-based addresses — Addresses like admin@, info@, support@, or contact@ are often flagged because they're typically shared mailboxes used by teams, not individual people. Many services prefer to verify individual users, so they reject these.
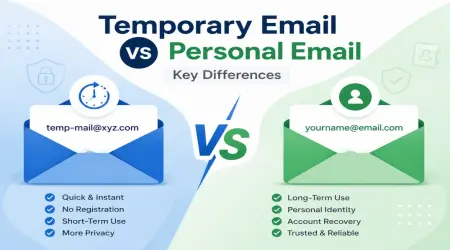
Disposable email domains — Some websites block email addresses from providers that offer short-term inboxes. This is especially relevant if you're using a service like mail-temp-mail.xyz to protect your real address. In those cases, you'd want to use your actual email for account registration.
Catch-all domains — Some company servers are set up to accept any email sent to them, even if the specific inbox doesn't exist. This can confuse SMTP-based verification systems, which see the server accepting the address and assume the inbox is valid when it might not be.
Email Verification for Developers — The Technical Side
If you're building something yourself, here's a quick rundown of how to approach email verification properly:
Step 1 — Validate format on the frontend Use a regex or a built-in HTML type="email" input. Don't rely on this alone though — it's just the first filter.
Step 2 — Check MX records on the backend When the form is submitted, do a quick DNS lookup on the domain. Libraries in most languages make this straightforward. In Node.js, you can use the dns module. In Python, dnspython handles this cleanly.
Step 3 — Generate a secure token Use a cryptographically secure random function (not Math.random() — that's not secure enough). Something like crypto.randomBytes(32) in Node.js gives you a solid 256-bit token.
Step 4 — Store the token with an expiry timestamp Save it in your database alongside the user's account record. Include a verified boolean (set to false initially) and a token_expires_at timestamp.
Step 5 — Send the verification email Keep it clean and simple. One button, clear instructions. Don't send a wall of text — most people just want to click and move on.
Step 6 — Handle the callback When the user clicks the link, look up the token, check it hasn't expired, mark the account as verified, and invalidate the token. Then redirect the user somewhere useful — not an error page.
Common mistake I made: I forgot to redirect users back to a useful page after verification. They clicked the link, saw "Account verified!" and then… nothing. No button to log in. No redirect. Just a message. Several people emailed me confused. Don't do that.
What Happens If Verification Fails?
Sometimes users don't get the confirmation email. This is more common than you'd think, and it usually comes down to one of a few things:
It landed in the promotions or updates tab — Gmail in particular loves to sort automated emails into these secondary inboxes. Worth checking there first.
The email was delayed — Especially with smaller or budget hosting providers, delivery can sometimes take 5–10 minutes instead of the usual few seconds.
The sender domain isn't authenticated — If the website you're signing up for hasn't set up proper email authentication (SPF, DKIM, DMARC records), receiving servers may delay or reject the message. This is a setup problem on the website's end, not yours.
You typed your email wrong — It happens to everyone. A typo at signup means the confirmation goes somewhere else entirely.
Most platforms have a "Resend confirmation email" option — always look for that before giving up.
A Few Mistakes I See People Make Constantly
Using a work email for personal signups — Then when they change jobs and lose access to that email, they're locked out forever. Always use a personal email for personal accounts.
Signing up with someone else's email by accident — Auto-fill can be sneaky. Always double-check the email field before submitting.
Not verifying within the time window — Sign up, get distracted, come back later, and the token has expired. Check your email right away when you sign up for something that matters.
Assuming verification means the email is "safe" forever — Email addresses can be abandoned or repurposed. Just because an address verified once doesn't mean it's actively used a year later.
The Bigger Picture — Why This All Matters
Email verification isn't just a technical checkbox. It's what keeps online communities and services functioning properly. Without it, registration forms would be flooded with fake or mistyped addresses, and nobody would actually receive important account-related messages.
It also protects you as a user. If someone else tries to register an account using your email address on some random platform, you'll get the verification email and know about it — even if you never asked for it.
Understanding how it works means you're less likely to get stuck, less likely to make mistakes, and better equipped to troubleshoot when something doesn't behave the way you expect.
And if you're building anything that collects email addresses — take this stuff seriously from day one. Getting it right early saves you a lot of headache later.
Want to protect your real inbox while still getting access to content that requires email signups? Check out mail-temp-mail.xyz for a quick, no-fuss temporary address when you need one.